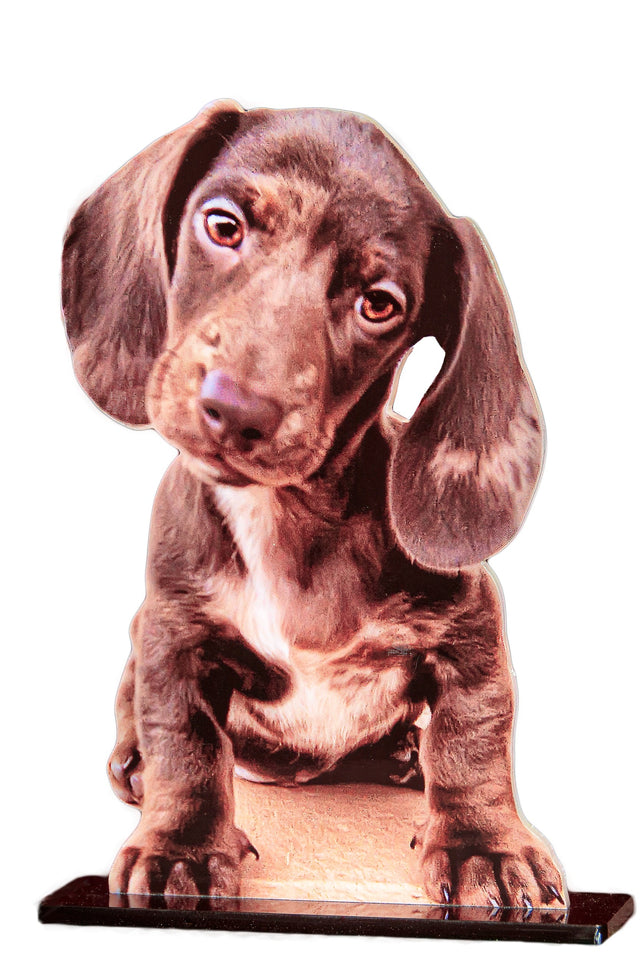
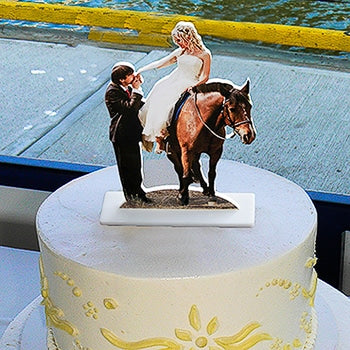
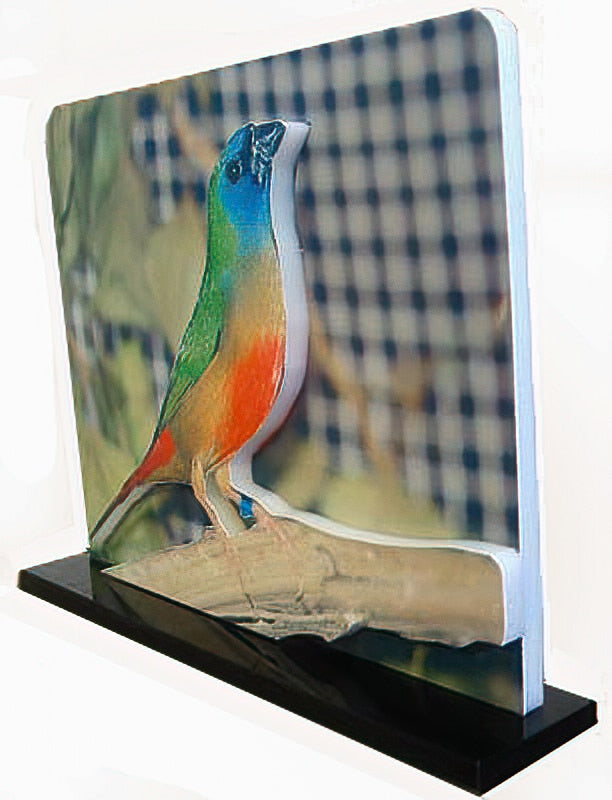
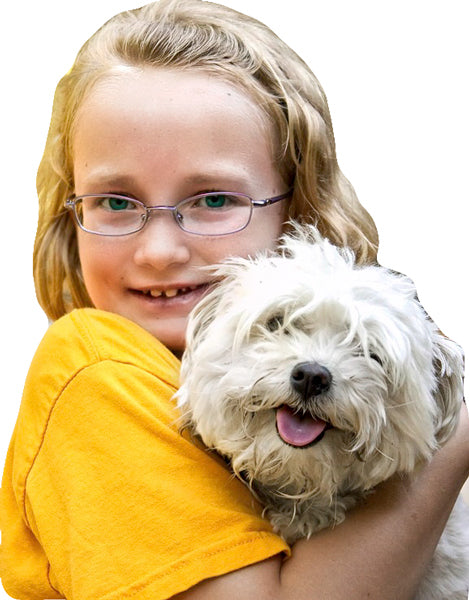
![]() ![]() |
Custom made photo sculptures from YOUR photos |
|
Photo cutouts |
Wall Mount photo cutouts |
FREE Shipping |
||||
|
||
Jigsaw Puzzles made from YOUR photos |
(Clicking these ads will take you to another web site) | |
The following text is for the search engines so they can figure out what this site is about. You probably don't want to read it. Photo sculpture is another name for a photo cutout. The process to make a photo sculpture (or cutout) is to print a copy of a photo, either from an image that was sent in an e-mail or scanned from a photographic print. If I scan your hard copy photo, I return your original photo to you and make the photo cutout from the photo I print. I print on a dye-sublimation printer which produces prints equal to those made in a traditional photo lab. I also offer a POPout style of photo cutout. In the POPout style, I make two prints and mount both to acrylic or oak. I then trim and mount the background to a base, and make a cutout from the 2nd print. The resulting cutout is then mounted to the surface of the background so the subjects really POP out from the background. This style of photo sculpture works best when the background is an important part of the photo How to make a lifesize photo cutout They are called by many different names, such as life-size or lifesize or life sized or life sized: Whichever way you spell it, they are big as life! You can even make them bigger than lifesize. So once you decide on how so spell what you are going to make, you have to know that they are not only called life size, but they also go by the name of standups or standees, or cardboard cutouts (life size of course) So here's how you make a lifesize photo cutout: Select a clear photograph, and print it with your inkjet printer using the software I tell you about here. The way your small printer can print life size, or even as large as a billboard, is all done with the software. It takes your photo that you want to print lifesize, and splits it up into segments which you then print and assemble by pasting each letter size segment of your lifesize image to cardboard, or foam board or plywood, etc.Once the segments of your life size image are all pasted to the cardboard or foam board, you cut away the background. Depending on the material you use for your standup, you can do the cutting away of the background with a box knife, or if you used wood, a saber saw. | ||
| Get my FREE newsletter |